Ultimate Midjourney Prompt Guide for Midjourney Alpha
Creating advanced prompts in Midjourney can be simpler than you might think.
By adding simple tweaks to your Midjourney prompts you can see significant boosts to the quality of your generated images.
In this ultimate Midjourney prompt guide, I’ve taken a deep dive into creating amazing images in the Midjourney web app – known as Midjourney Alpha.
We’ll cover everything from aspect ratios to image chaos settings and everything in between. But first…
What is Midjourney?
Have you ever tried to sit down and create an amazing piece of artwork only to be less than satisfied with your results?
Well, Midjourney allows you to create the world-classed visuals you’ve always dreamed of!
Using a powerful AI model that has been trained on millions of images, Midjourney takes your text description, known as a prompt, and brings it to life before your eyes.
The San Francisco company founded by David Holtz, rose to fame after it’s release to the public in July 2022, and has since grown to over 20 million users worldwide.
Midjourney is commonly regarded as the premiere AI image generator.
Powered by a proprietary machine learning model designed for generating high-quality AI images from text descriptions, Midjourney has made AI art accessible to the world.
Getting Started with Midjourney
To get started using Midjourney, head to https://alpha.midjourney.com/ and click Sign Up in the bottom right.
You’ll be directed to sign into Midjourney via Discord. If you don’t have a Discord account, you’ll need to sign up.
Once you’re in, download my Midjourney cheat sheet for later, and head back to Midjourney Alpha.
Generating Your First Image
To generate your first image in Midjourney, it’s as simple as typing what you want to generate in the Image text field seen at the top of the screen.
It can be anything you want! I tried out the super simple prompt A cartoon hamster.
Click the Create button in the top left to see your first generation.
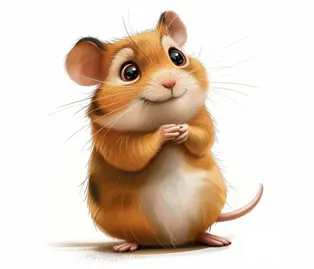
Amazing right?!
Adjusting Basic Settings
Click the settings button in the right hand side of the Image text field. This opens the basic image settings.

Here, you’ll see 3 main panels: Image Size, Aesthetics, and Model.
These settings are sticky – meaning the settings your adjust here will stay on for future generations. Click the Reset button in the top right of each panel to reset that panel’s settings to default.
You can overwrite the settings using specific syntax in your text prompt, but we’ll get to that later!
Image Size
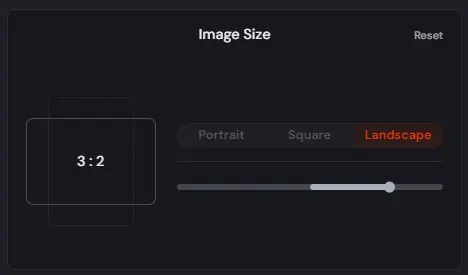
This is where you can adjust the aspect ratio of your image. Simply use the slider to pick the aspect ratio you want. You can adjust from 1:2 to 2:1 and everything in between.
If you need specific aspect ratios, or ratios outside this range, append the following syntax to your text prompt:
--ar [your aspect ratio]
For example, if I wanted to generated a banner with a 6:1 ratio, simply add the following to the end of your prompt:
--ar 6:1
Aesthetics
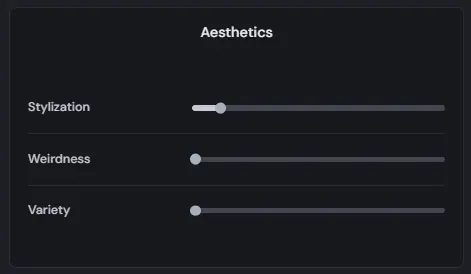
The aesthetics panel is where things get interesting. There are 3 sliders you can adjust in the Aesthetics panel:
Stylization
Influences how strongly the Midjourney aesthetic is applied. Low stylization values produce images that closely match the prompt but are less artistic. High stylization values create images that are very artistic but less connected to the prompt.
Stylization values can be from 1 to 1000, the default setting is 100.
To control stylization via your text prompt, use the following syntax:
--s [a value between 1 and 1000]
Weirdness
Introduces quirky qualities to your generated images, resulting in unique and unexpected outcomes.
Weirdness values can be from 0 to 3000, the default setting is 0.
To control weirdness via your text prompt, use the following syntax:
--w [a value between 0 to 3000]
Variety
Influences how varied the images are. High values will produce more unusual and unexpected results and compositions. Lower values have more reliable, repeatable results
Variety (also known as Chaos) values can be from 1 to 100, the default setting is 0.
To control Chaos via your text prompt, use the following syntax:
--c [a value between 0 and 100]
Here’s an example of what the Aesthetics settings can do. The image on the left uses the default settings and on the right is an image using the same prompt, but with Stylize, Weirdness, and Variety all set to the maximum values!
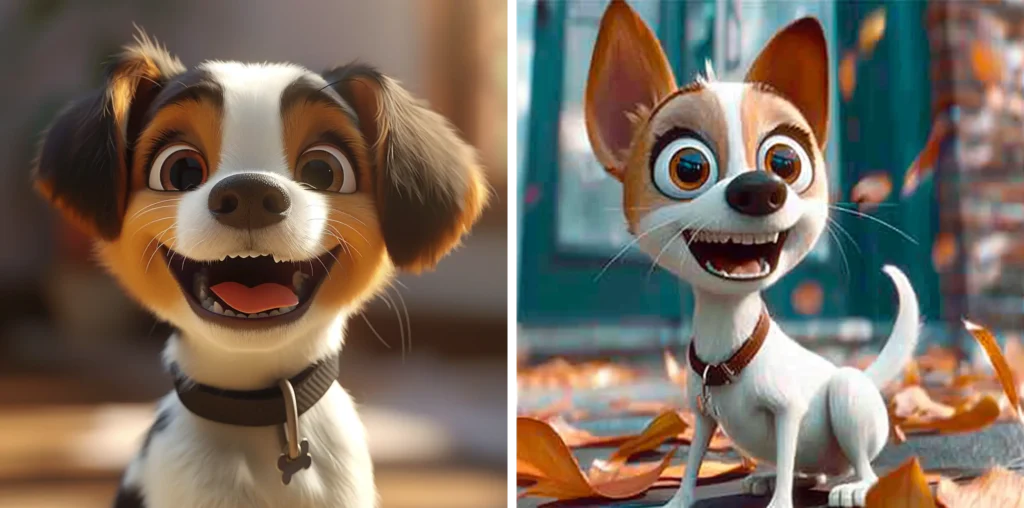
a puppy happy with excitement, cartoon realism, Disney animation
Model
The model panel allows you to select which Midjourney model to use for you image generations.
Raw mode replaces the default aesthetic of some Midjourney Model Versions. Using it can help you create more photo-realistic images, cinematic scenes, or cuter characters.
I’ve found that raw mode can also improve prompt adherence too.
In the Version drop down menu you can choose from all the Midjourney model back to Version 1. Version 4 was about where things started to get really good with Midjourney, but it can be fun to look at the earlier ones.
-
Personalize is a new feature that enables images to be personalized based on your specific artistic tastes. To enable personalization you must have liked or ranked 200 images or more.
-
Speed dictates the time it takes for Midjourney to generate amazing images. Use Turbo if you have plenty of GPU minutes remaining.
-
Stealth is only available to Pro subscribers and above. Enabling it means your generations won’t be publicly available in the Midjourney explore page.
Crafting Great Text Prompts in Midjourney
So far we’ve covered the basic Midjourney settings you can use to get started creating stunning images
Now it’s time to take a closer look at how to craft the perfect text prompts for Midjourney.
By following a few simple rules when creating text prompts, you’ll give yourself more control over the generated content and at the end of the day become a stronger user of Midjourney.
Let’s learn how to craft the perfect text prompts. 👇
1. Start Simple
Midjourney has become so good now, that in many cases you can get what you need with a basic prompt.
No fancy tricks, just start with a clear and simplistic description of your vision. Imagine trying to describe your image to another person. Be sure to include any specific details, colors, art styles, or other features.
Here’s 3 great examples of what a simple, yet well crafted prompt can do in Midjourney:
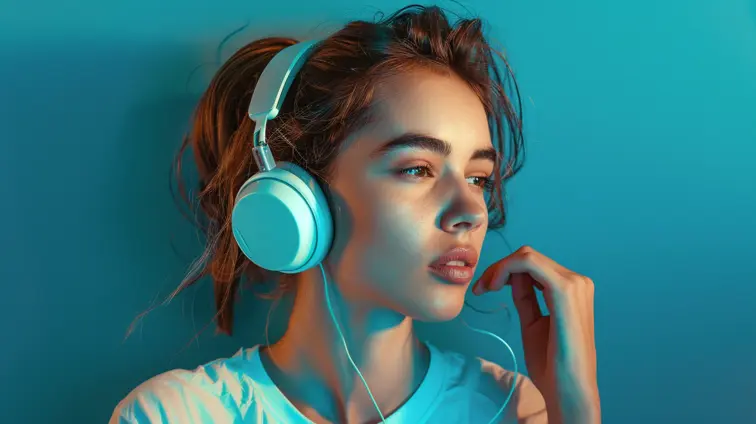
A realistic photograph of a pretty woman listening to music over a blue background --ar 16:9
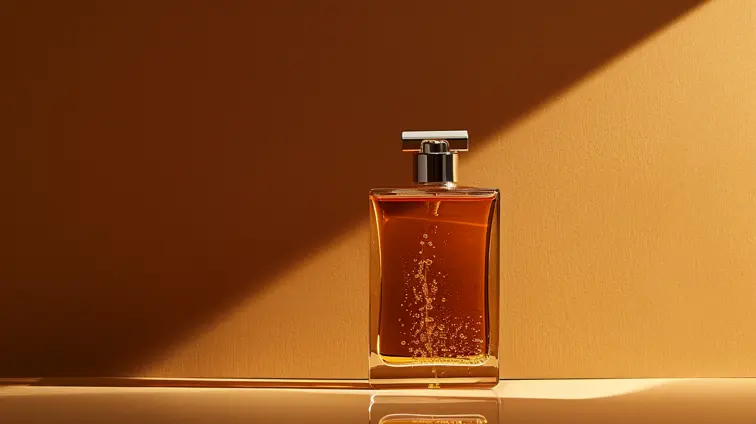
Magazine minimalist product photography of high end men's aftershave
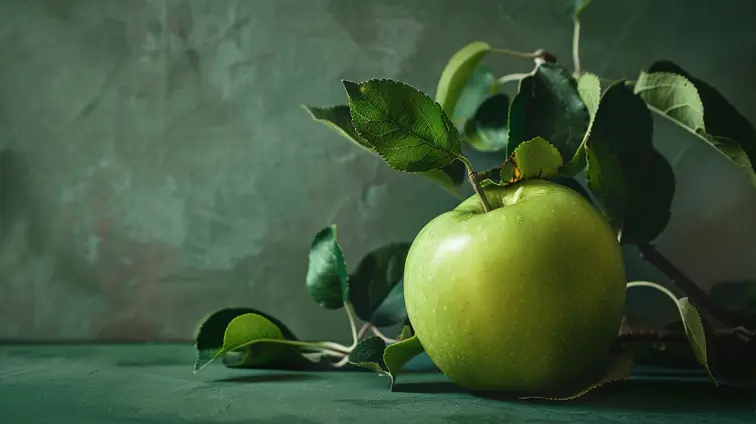
Food photography of a freshly picked green apple
2. Specify Lighting
Specifying the lighting in your prompt is an excellent way to control the mood of your image.
Terms like natural lighting, soft lighting, afternoon light, colored lighting, and cinematic lighting can make an impactful difference to you image prompts.
Use lighting commands in your prompt to control the mood and tones of your AI generated artwork.
3. Leverage Keywords
I have a few keywords committed to memory that I’ll often pull out to improve the aesthetics of an image I’m working on. Here’s a list of some high-impact keywords you can leverage to realize your creative vision:
-
High contrast
-
Cinematic
-
Minimalist
-
Line art
-
Vintage
-
Neon theme
-
Grunge
-
Retro
-
Industrial
-
Futuristic
-
Pastel
-
Organic
-
Dystopian
-
Gothic
The list goes on! Depending on the image generation you’re trying to create, you should identify some of these keywords and keep them handy somewhere!
4. Find Your Style
Everyone has their own unique style when it comes to generating AI art.
Some creators are drawn to high contrast, bright, and colorful generations while others like low light medieval styles.
Probably the best way to find your style in Midjourney is to honestly just use Midjourney.
The more generation hours you get under your belt, the more tricks, tweaks, and settings you’ll learn to use to get your AI generated art exactly the way you want it.
5. Use a Prompt Marketplace
Prompt marketplaces allow you to scroll through hundreds of unique prompts created by expert prompt engineers in Midjourney and other AI apps.
No matter how good you get, it’s always worth checking into prompt marketplaces from time to time and seeing what’s possible!
To this day I still buy prompts just to see how other high-level creators are using Midjourney!
Advanced Prompt Techniques for Midjourney
Negative Prompts
Negative prompts in Midjourney allow you to remove unwanted items, colors, or themes from your different art styles.
Using negative prompts in Midjourney give an extra level of control to the advanced prompt engineer.
The easiest way to use negative prompts in Midjourney is as follows:
--no [items you want removed]
Here’s a great example of how negative prompting helped me create this pencil sketch prompt.
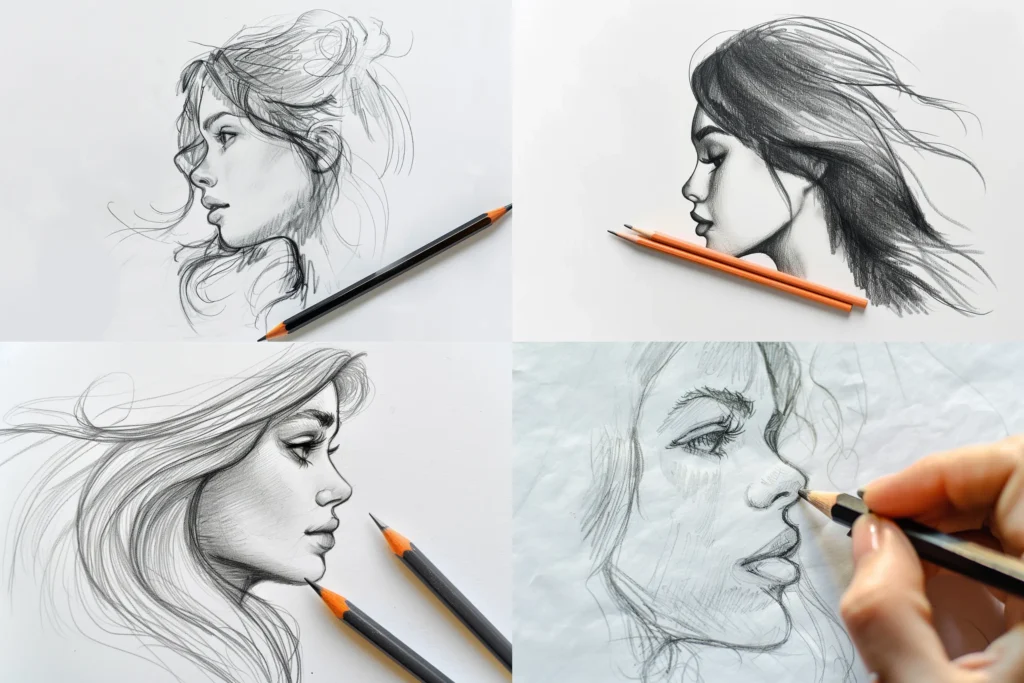
Notice each image included pencils and hands? We can fix that using negative prompts.
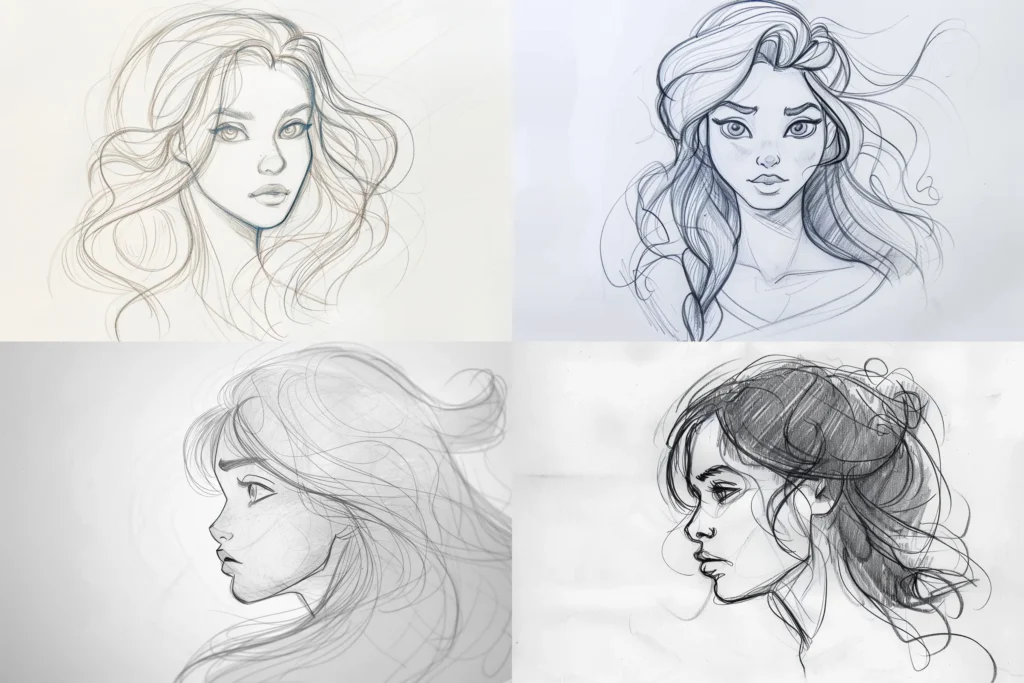
Imperfect silhouette outline pencil hand sketch of a pretty girl on white paper background with graphite stroke shading --no pencil, pencils, hand, hands
Permutation Prompts
Permutation prompts are legit one of my favorite things in Midjourney.
The amount of time permutation prompts have saved me would be in the tens, if not hundreds of hours.
Permutation prompts allow you to run a series of unique prompts in the single original prompt. Here’s what I mean:
A fresh {green, red, blue} apple
This single prompt is equivalent to three individual prompts: A fresh green apple, A fresh red apple, and A fresh blue apple.
There’s heaps of ways to use permutation prompts but my personal favorite is the following:
[Your text prompt] --s {100, 200, 600, 1000} --c {1, 50, 100}
This permutation takes you prompt and applies 12 unique aesthetic combinations to generate a total of 48 images to choose from!
You can see how much time permutation prompts can save when used appropriately.
Reference Images
Another great way to create captivating visuals with Midjourney is by using a reference image.
Reference images allow you to influence the model with existing images you might have from magazines, social media, or even other AI art creations.
To use a reference image in Midjourney Alpha, click the image icon to the left side in the Image text field. Upload your image and type your prompt as you normally would.
Describe
What is you have an existing image that you love but you’re not sure how you could create a prompt to describe it?
Describe is kind of like Midjourney in reverse – upload an image and Midjourney will give you a text description! It’s an awesome tool for leveling up your prompt skills.
To use the Describe feature in Midjourney Alpha, upload your image as we did before, then simply hover over the image and click the i icon.
Midjourney will then describe the subject and specific “descriptors” of your image.
Click the text icons to add them directly to the text field and make a fresh prompt from your image!
Repaint
Repaint (formerly known as Vary Region) is a generative fill/remove feature that allows you to make modifications to images similar to how you might do it in photoshop.
It’s a great alternative to using negative prompts, or for adding specific traits or features to your images.
Getting good at repaint in Midjourney can save you hundreds of hours and or dollars getting good at photoshops or hiring someone to do the edits for you.
Prompt Weights
Prompt weights allow you to communicate the importance of specific words to the AI, giving you a significant level of control.
You can also assign weights to words in your prompt to increase the presence of a specific feature or remove it entirely.
Writing prompts with prompts weights can be done by adding a double semi colon to specific words, For example:
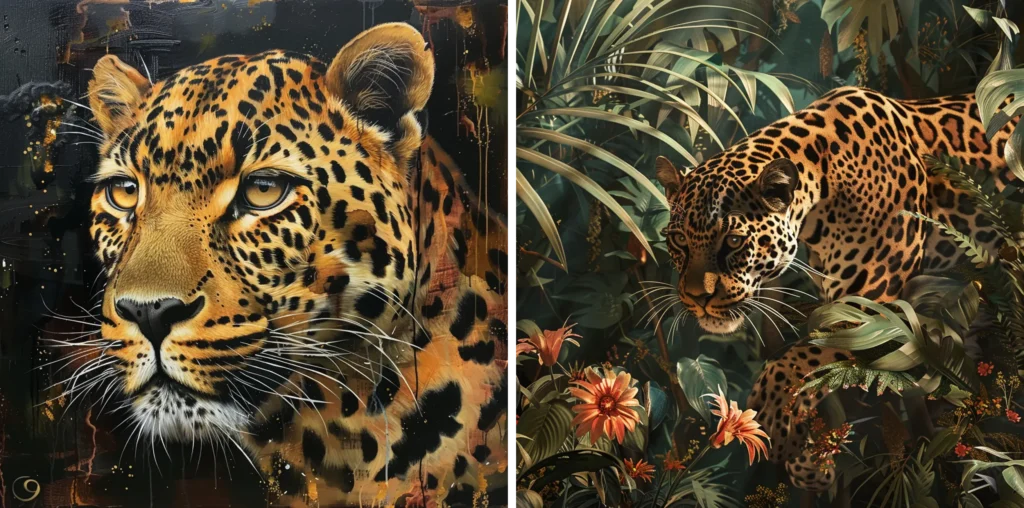
[A leopard]::3 in the [dense Amazon]::7
This gives the term A leopard a 20% weight, and the term dense Amazon an 80% weight.
Alternatively if we ran:
[A leopard]::7 in the [dense Amazon]::3
It does the opposite. Here are those two generations so you can see the difference:
Personalize
Midjourney’s Personalization feature learns your personal artistic preferences to better match your tastes!
To use personalization you must have 200 or more pair rankings or likes.
To do this, head to Tasks in Midjourney Alpha then click Rank Images, or simply like images in the Explore page.
To check your count type /info in Discord, or check the ranking count in the Tasks section.
If anyone wants to try out my personalize code, add this to the end of your prompt:
--p prhx95i
10 Midjourney Prompt Examples
Here’s a library of 20 Midjourney prompt examples you can use to get your creative juices flowing and level up your skills as a prompt engineer!
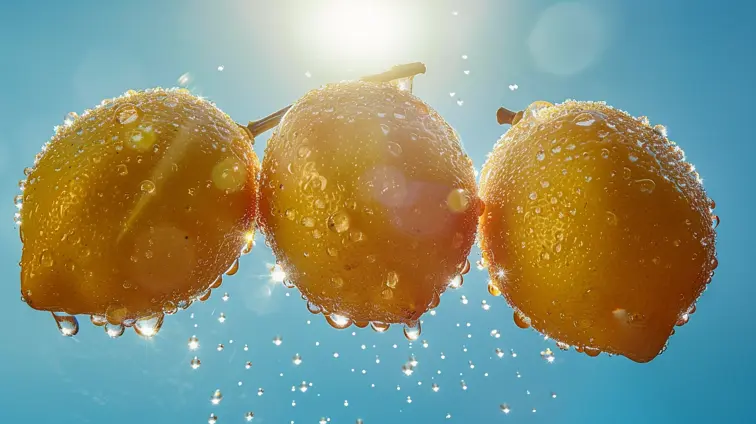
Food shot, ultra wide angle, 3 delicate lemons against a bright blue sky, morning dew, fresh fruit, realistic, ultra fine detail, depth of field, high resolution
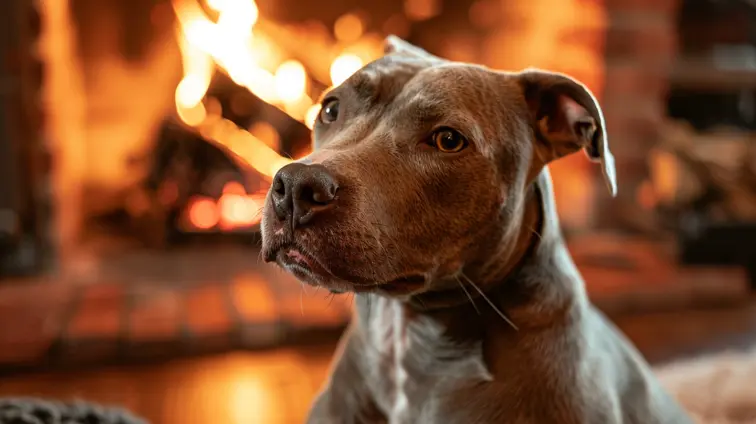
An American Pitbull terroir is sitting in the center of the frame in front of a fireplace, looking around curiously. The background is bright and cozy.
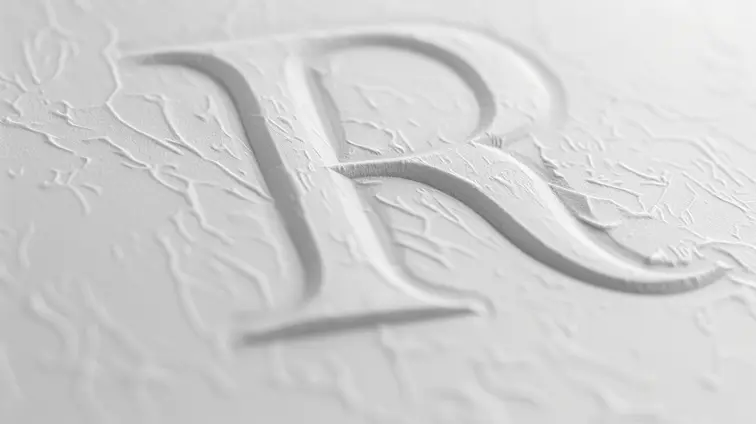
Embossed minimalist R on white paper
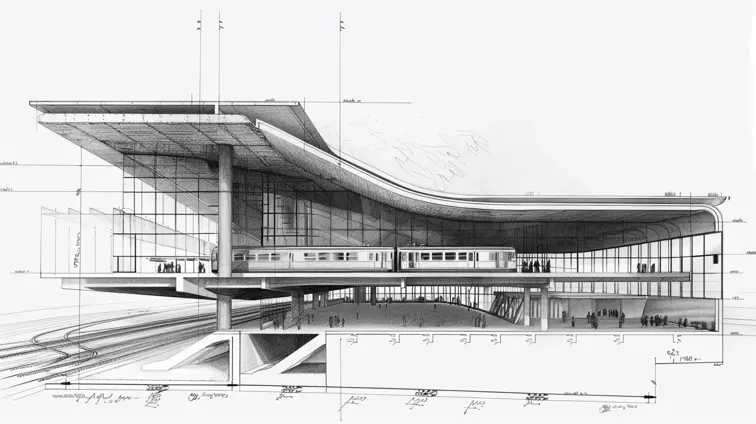
cross-section CAD drawing of a brutalist train station
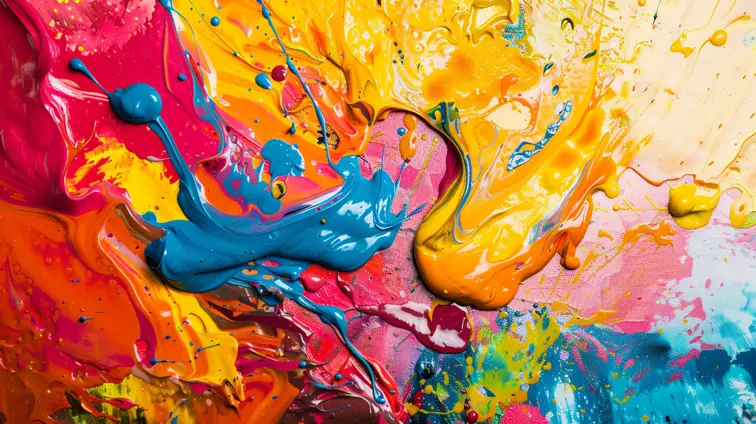
High contrast thick paint color explosion
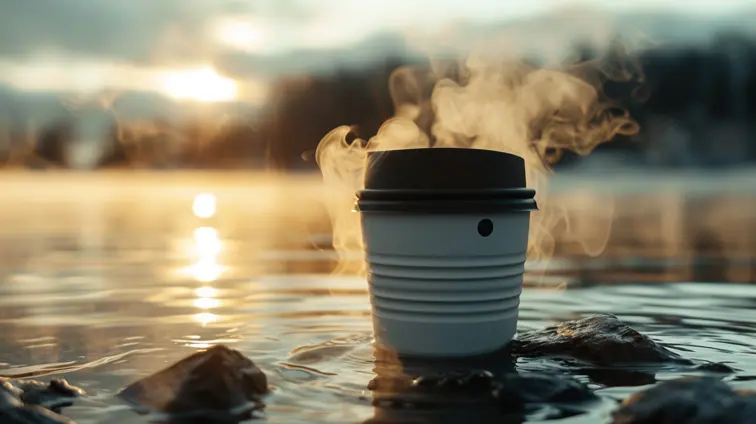
White coffee mug front lens, black lid, placed on the water, with a little smoke around it
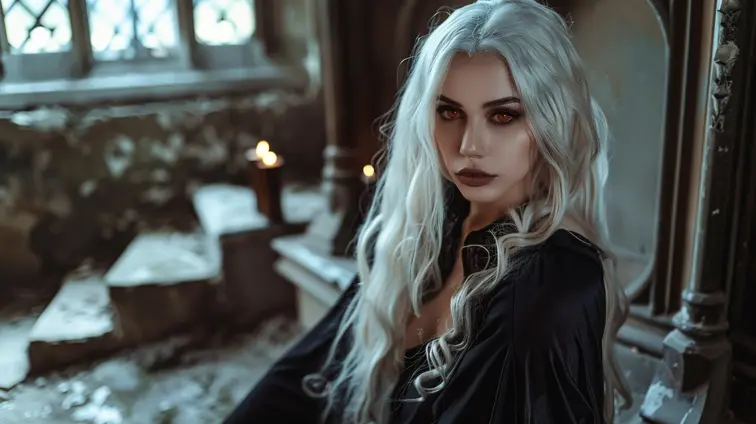
A beautiful vampire woman with pale skin, long white hair and red eyes wearing black robes sitting on an altar in the style of Magali Villeneuve street photography
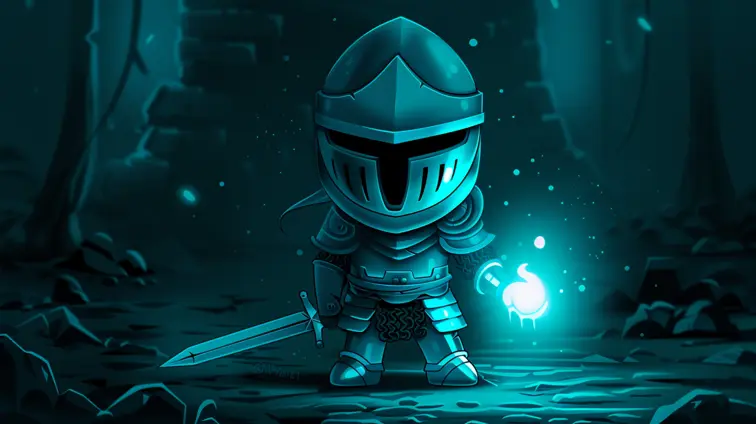
Chibi dark soul character design of with white and teal color theme, dark background, glowing eyes and black helmet, simple style in the style of ch32
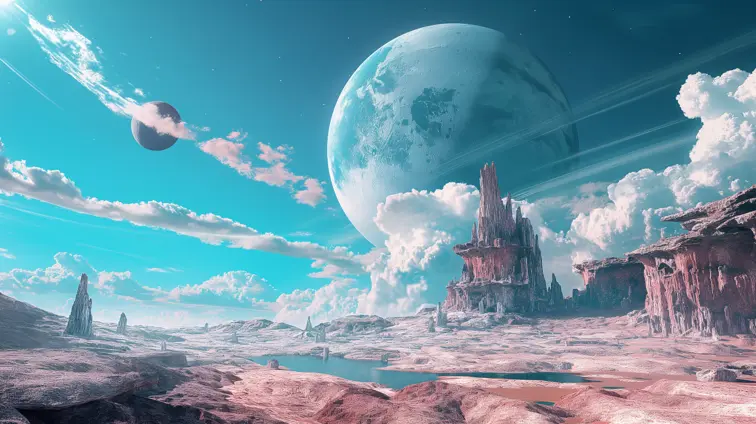
Worldly landscape post The singularity
Midjourney Prompt Guide FAQs
Are there any good Alternatives to Midjourney?
There are a number of good Midjourney alternatives including Leonardo, Adobe Firefly, Dall-E 3, and Ideogram.
Can ChatGPT write prompts for Midjourney?
Yes, absolutely! Simply explain to ChatGPT the type of image you are trying to generate and ChatGPT will instantly generate a highly detailed natural language text prompt for you.
What do curly brackets mean in a Midjourney prompt?
Curly brackets in a Midjourney prompt are used for permutation prompts.
They should be included in the prompt and not removed.
